Step 1: Reach the Device Manager Snap In/Control Panel
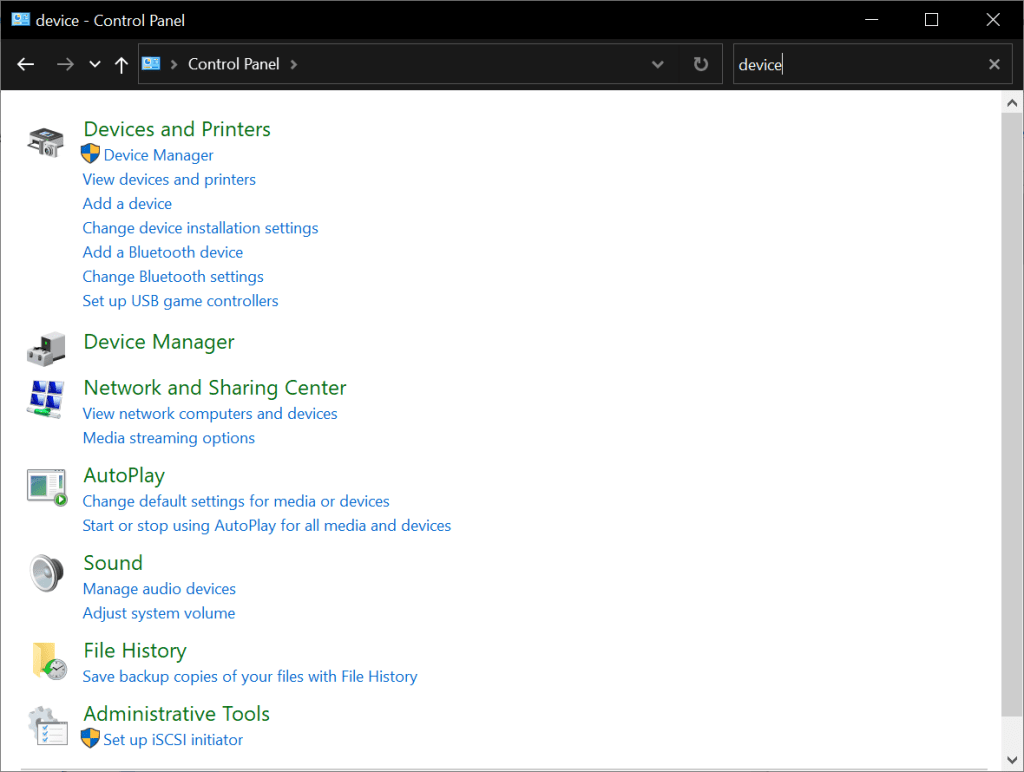
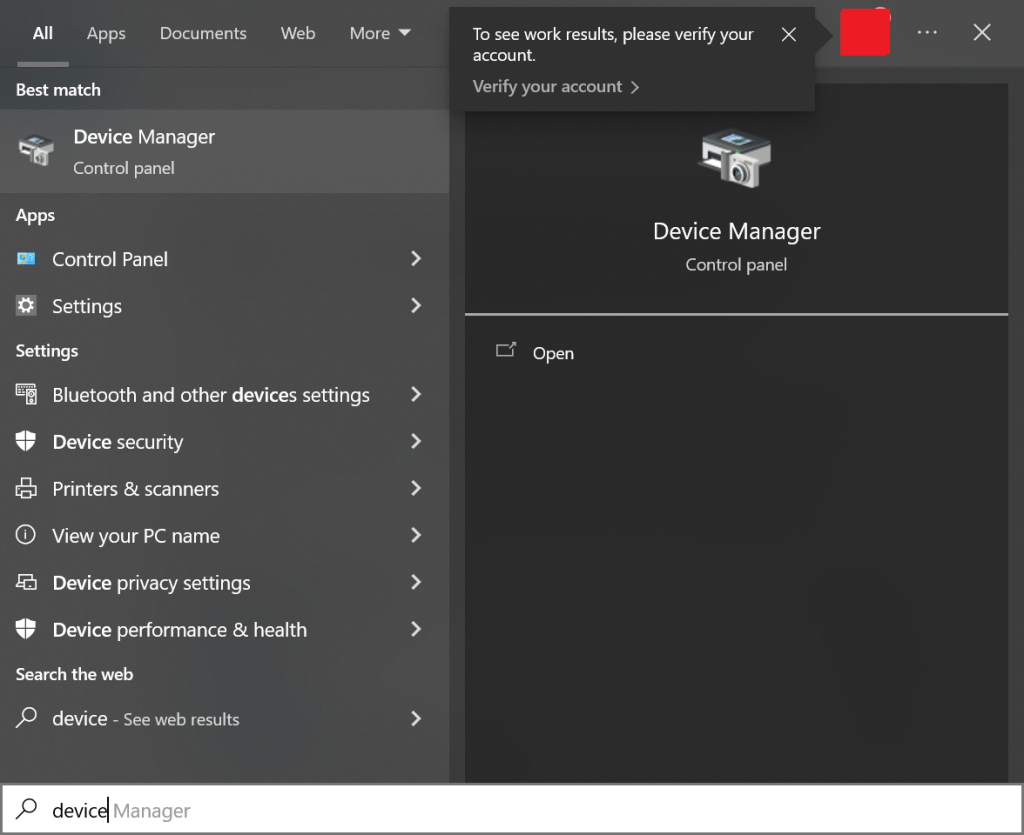
Device Manager in Windows is a good way to see the status of a lot of different drivers in the system or see if something is not right. To change a driver in Device Manager, one would need to get to the software in the system and launch it. The easiest way to get to Device Manager is search for it in the Start Menu. It can also be located under the Control Panel.
Step 2: Find the Device in question whose driver should be updated.
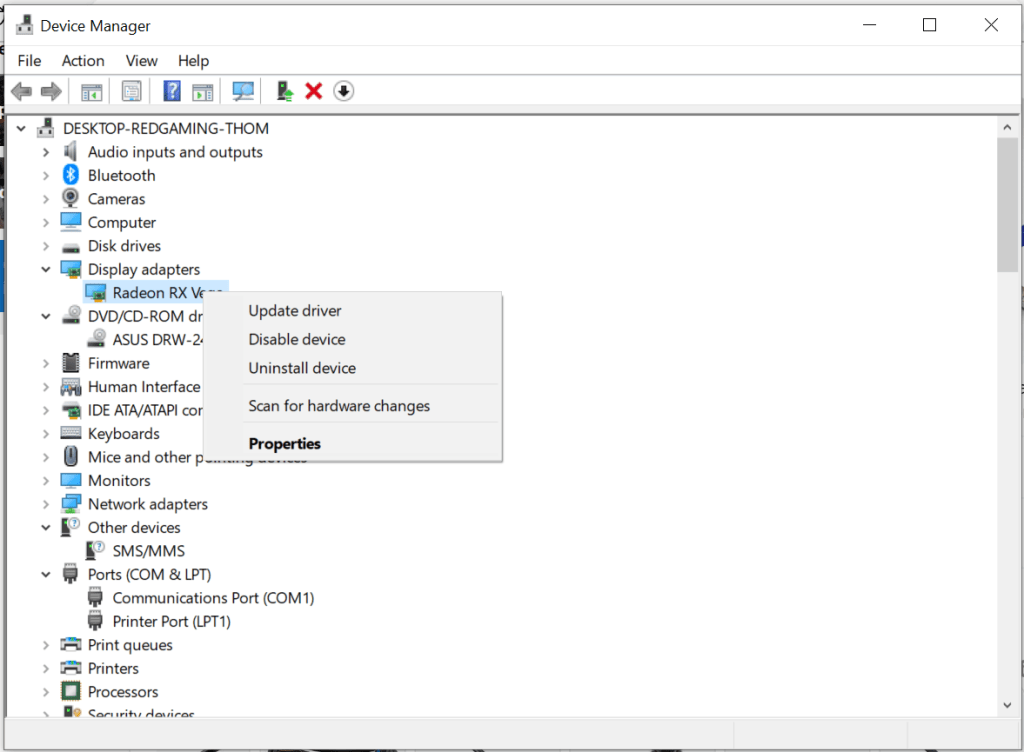
After getting to Device Manager, locate the device in question. For this example, I’m wanting to change my GPU (Graphics card) driver. One can do this by right clicking on the item in the list of devices to bring up a menu. The Properties one will give you a lot of info about the driver currently installed and have the option to update/change it too. For this example, I’m just going to click Update Driver.
The other two options work like this. Disable Driver leaves the driver and the function of said driver known to Windows in place, but effectively turns it off for use until manually reactivated. This can be useful if something is not compatible with the system. Uninstall Driver removes the driver from the installed state in the system. The driver may still be left on the device, but until the driver is reinstalled and activated, the device effectively is not going to exist to Windows unless the OS has another built-in compatible driver. For example, a lot of GPU devices nowadays will work to display the Windows desktop/etc… without their specialized drivers, BUT to take full advantage of them in gaming, the manufacturer’s driver must be installed.
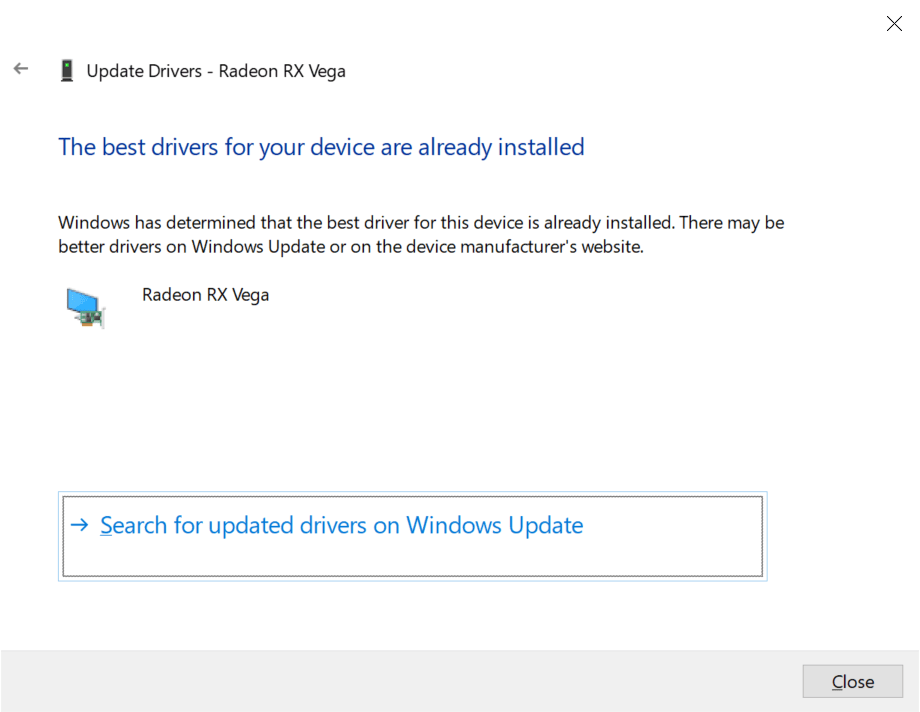
Step 3: Device if I want Windows to search its system for compatible drivers or manually pick my driver.
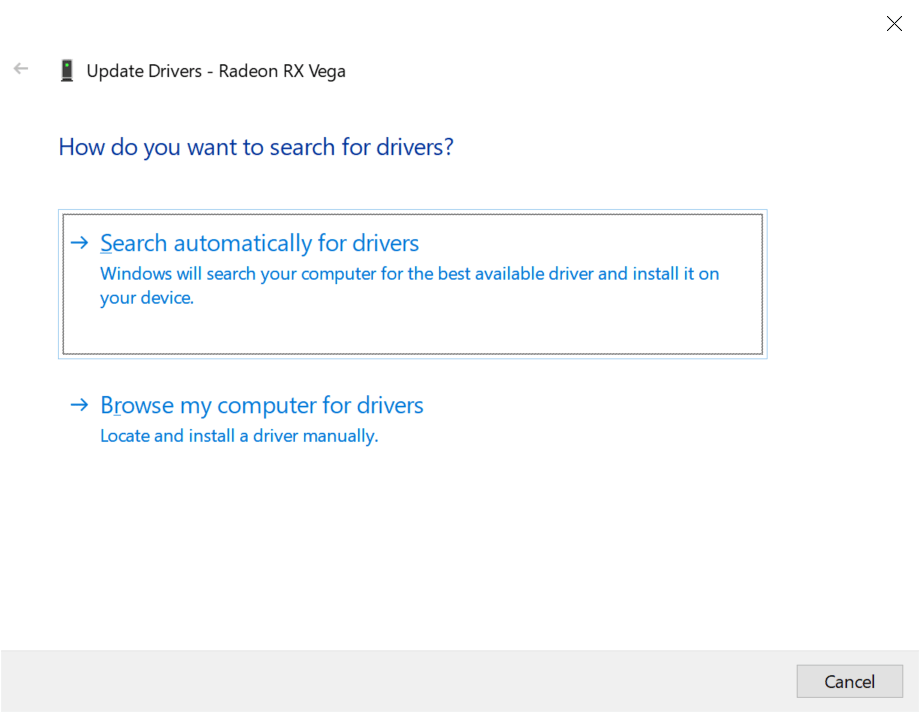
Once here, the next choice to make is decide between letting Windows choice a driver manually that it thinks is compatible/the best or manually pick the driver that should be used.
Step 4: Locate the Desired Driver to Use
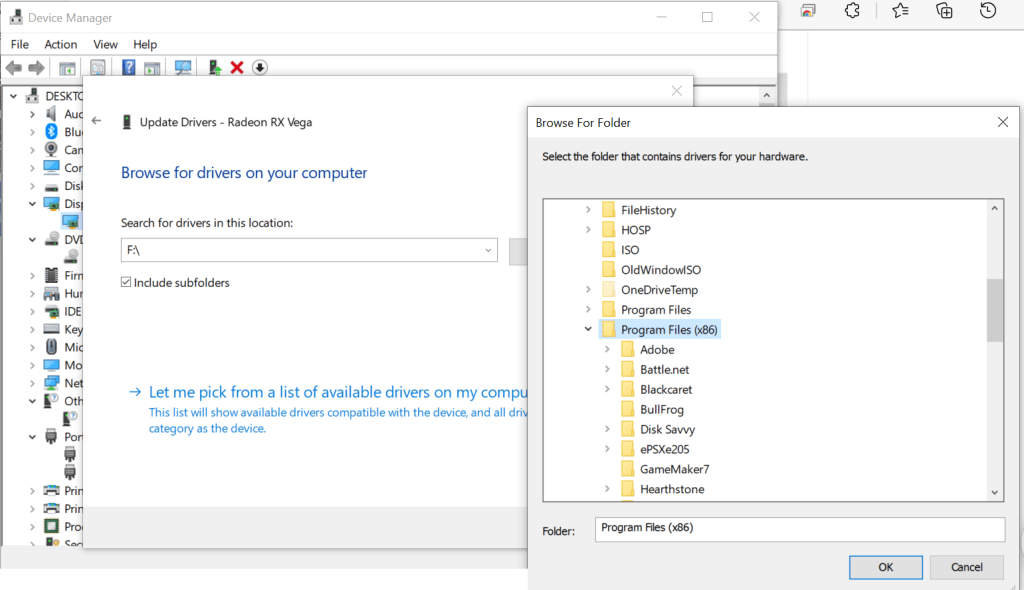

Regardless of how one gets there, one needs to tell Windows which driver to use. You may notice in the 3rd screenshot above that the driver is signed. This is a means of the manufacturer indicating that the driver should be genuine or trusted in a system. Some versions of Windows will refuse to load unsigned drivers unless an exception is made. Showing how to do that is beyond this post’s scope.
Step 5: Click to Install the Driver.
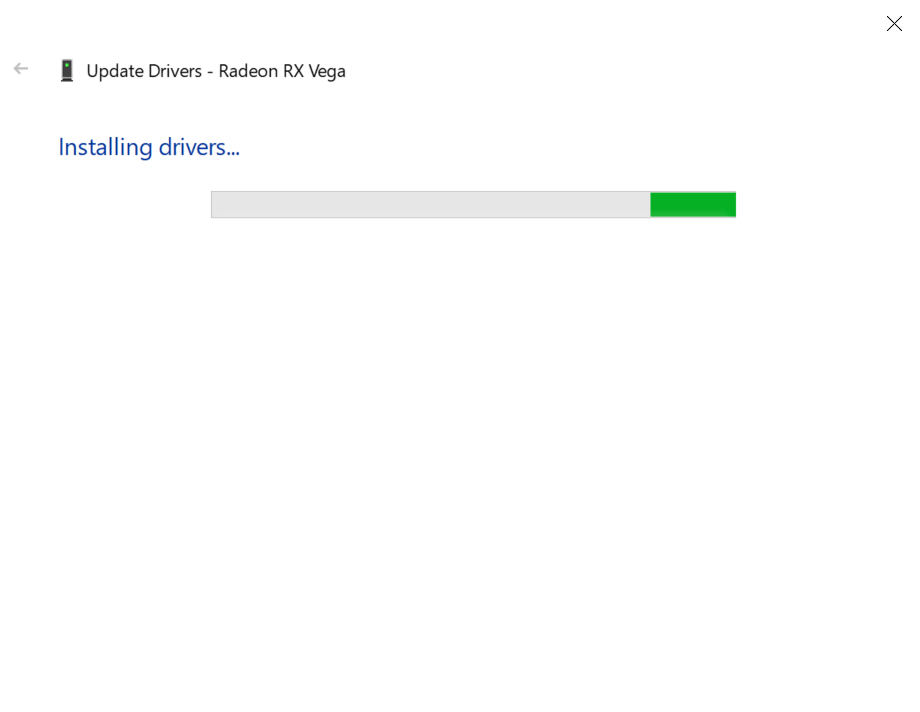
All that’s left is to click the button to install the driver and watch the progress bar go. If you picked a poor choice, it should let you know by either giving an error message to a BSOD (system crash) if the driver was a really wrong choice.
Step 6: Driver Install complete.
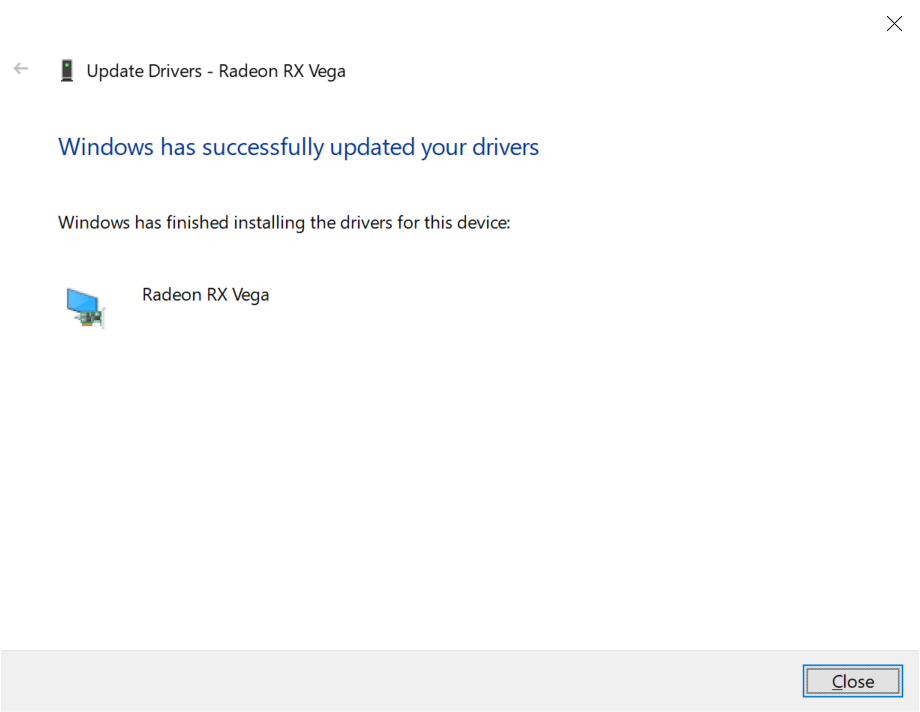
With this driver successfully installed, this wraps up this Walk Thru Post. In it, we looked at Device Manager and how to pick a new driver for a GPU. Thank you for reading. For comments/questions/criticism feel free to leave a comment or email suggestions@itlessonslearn.com.

Leave a comment